
Imagine a world where every dessert you create is enhanced with a cloud of freshly whipped cream. A whipped cream canister is not just a kitchen gadget; it’s a key to unlocking endless culinary possibilities. This guide will delve into optimizing your experience with whipped cream canisters, ensuring that every dish delights not just the palate, but also the eyes.
Understanding Your Whipped Cream Canister
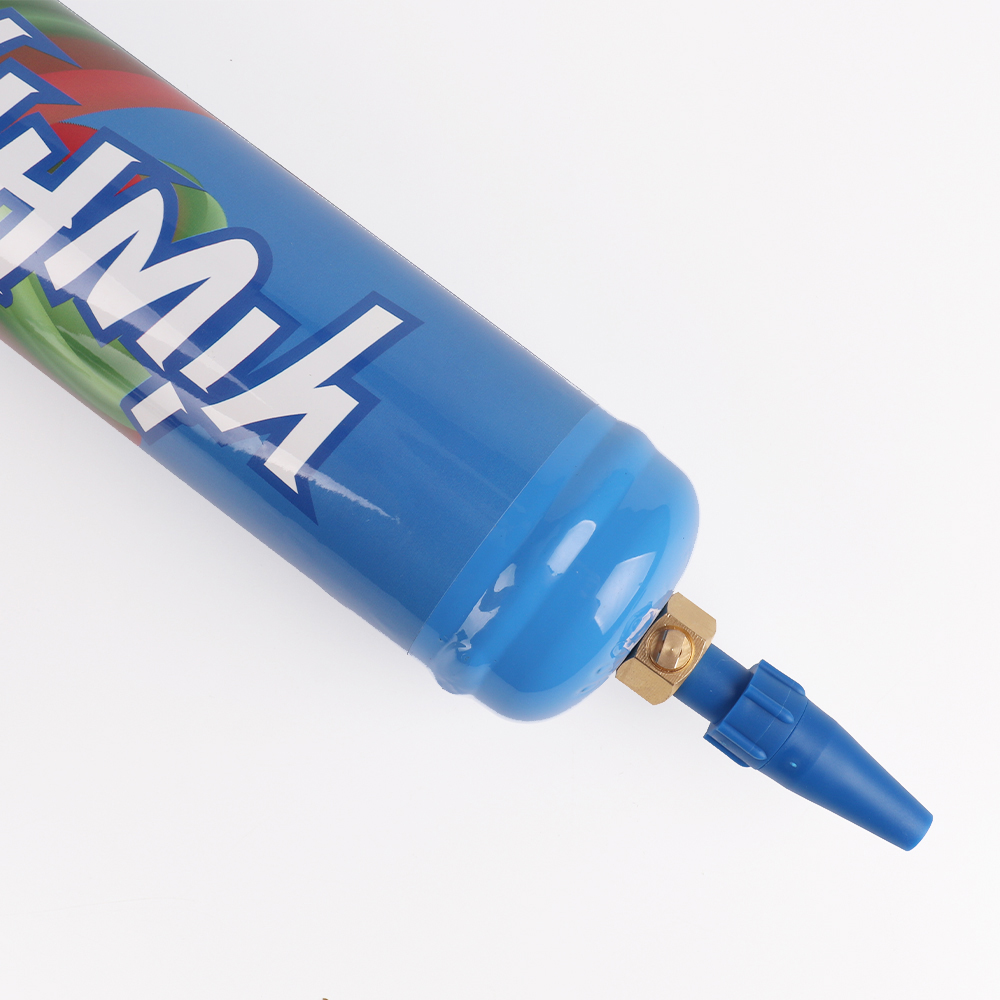
Your whipped cream canister is a sophisticated tool that incorporates a simple, yet brilliant design. At its core, it uses a pressurized gas to transform liquid cream into a fluffy, airy topping. But how exactly does this work? Let’s break it down:
- Chamber: This is where you pour in your cream, sugar, and flavorings.
- Gas Cartridge: Typically filled with nitrous oxide, this cartridge infuses the cream with air.
- Nozzle: The end piece that dispenses your creation with a simple squeeze.
Before embarking on your culinary journey, familiarize yourself with these essential components, as understanding their function is crucial for success.
Tips for Crafting Perfect Whipped Cream
It may seem easy—just whip cream and go! But, subtle nuances can elevate your whipped cream from ordinary to extraordinary. Here are some expert tips:
- Always start with cold ingredients. Chill your canister for optimal results.
- Use heavy whipping cream (at least 36% fat). This guarantees a richer texture.
- Add sugar gradually. Start with 2 tablespoons per cup of cream and adjust to taste.
- Experiment with flavors. Vanilla, almond, or even coffee can bring your whipped cream to life!
Flavors, Preservatives, and Alternatives
Unleash your creativity further by incorporating flavors and experimenting with alternative ingredients. Below is a comprehensive table detailing various options:
| Flavor | Suggested Ratio | Notes |
|---|---|---|
| Vanilla Extract | 1 teaspoon per cup | Use pure extract for best flavor. |
| Maple Syrup | 1 tablespoon per cup | Gives a unique, natural sweetness. |
| Cocoa Powder | 2 tablespoons per cup | For a chocolatey twist, sift before adding. |
| Fresh Fruits | 1/4 cup pureed | Add color and freshness, blending for smoothness. |
Common Mistakes to Avoid
Even the most seasoned cooks make mistakes. Awareness is crucial. Here are common pitfalls in the whipped cream making process:
- Using a non-ideal cream: Low-fat creams do not whip well.
- Overloading with flavorings: Balance is key; too much can overwhelm.
- Not shaking the canister: A good shake ensures proper mixing.
- Failure to clean: Residue can affect future batches’ taste.
Innovative Uses for Whipped Cream Canisters
Did you know that whipped cream canisters aren’t limited to just sweet applications? Here are some creative uses to consider:
- Cocktail Froth: Use the canister to add a frothy top to your favorite cocktails.
- Espresso Drinks: Make whipped cream for coffee drinks in seconds.
- Infused Oils: Use the canister to infuse herbs into oils quickly.
Safety and Maintenance Tips
Safety should never be overlooked. Here’s how you can ensure both the efficacy and longevity of your whipped cream canister:
- Always follow manufacturer guidelines for usage.
- Store cartridges in a cool, dry place away from direct sunlight.
- Clean the nozzle and canister regularly to prevent clogs.
- Dispose of empty cartridges responsibly.
Conclusion: Elevate Your Culinary Game!
Mastering the whipped cream canister can truly transform your kitchen experience. By understanding its mechanisms, utilizing expert tips, and avoiding common mistakes, you can create sumptuous whipped cream that enhances any dish. Whether you’re adorning a slice of pie or adding flair to your favorite cocktail, the possibilities are endless. So, roll up your sleeves, unleash your creativity, and start whipping up delightful creations! It’s time to savor every moment, one fluffy dollop at a time!